TL;DR
- Assess damage extent first
- Use proper tools and techniques
- Match replacement pieces carefully
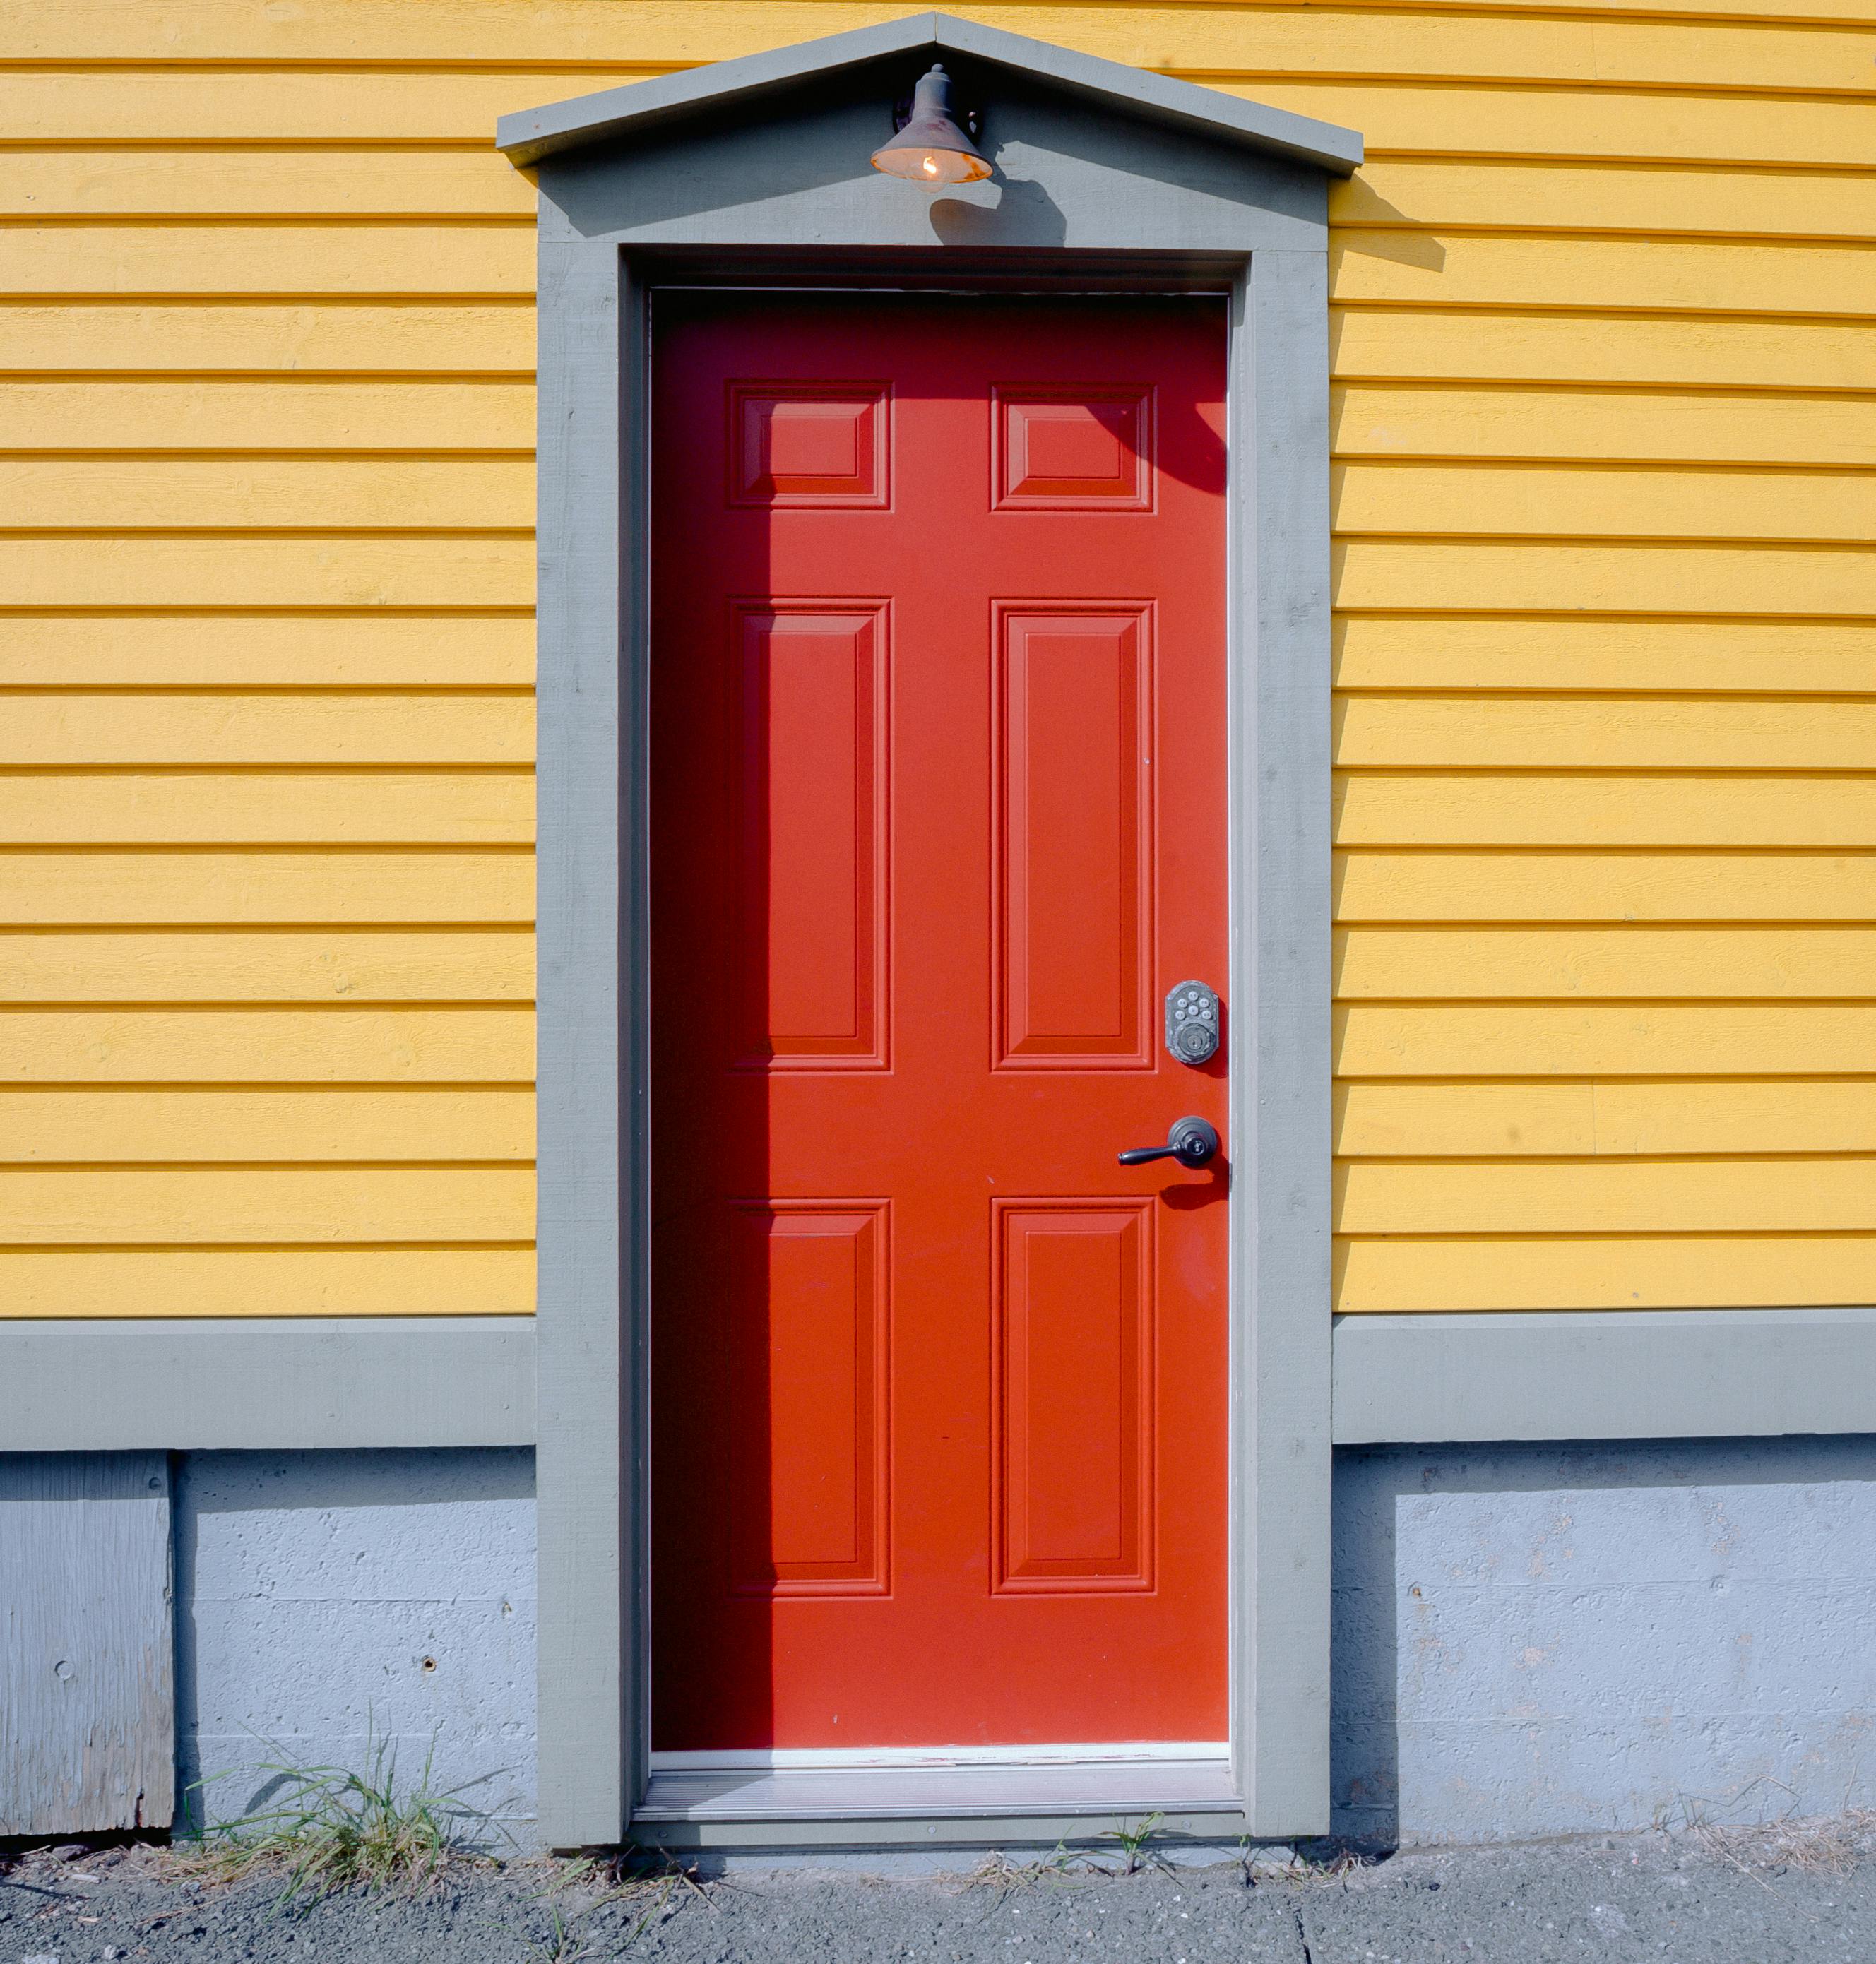
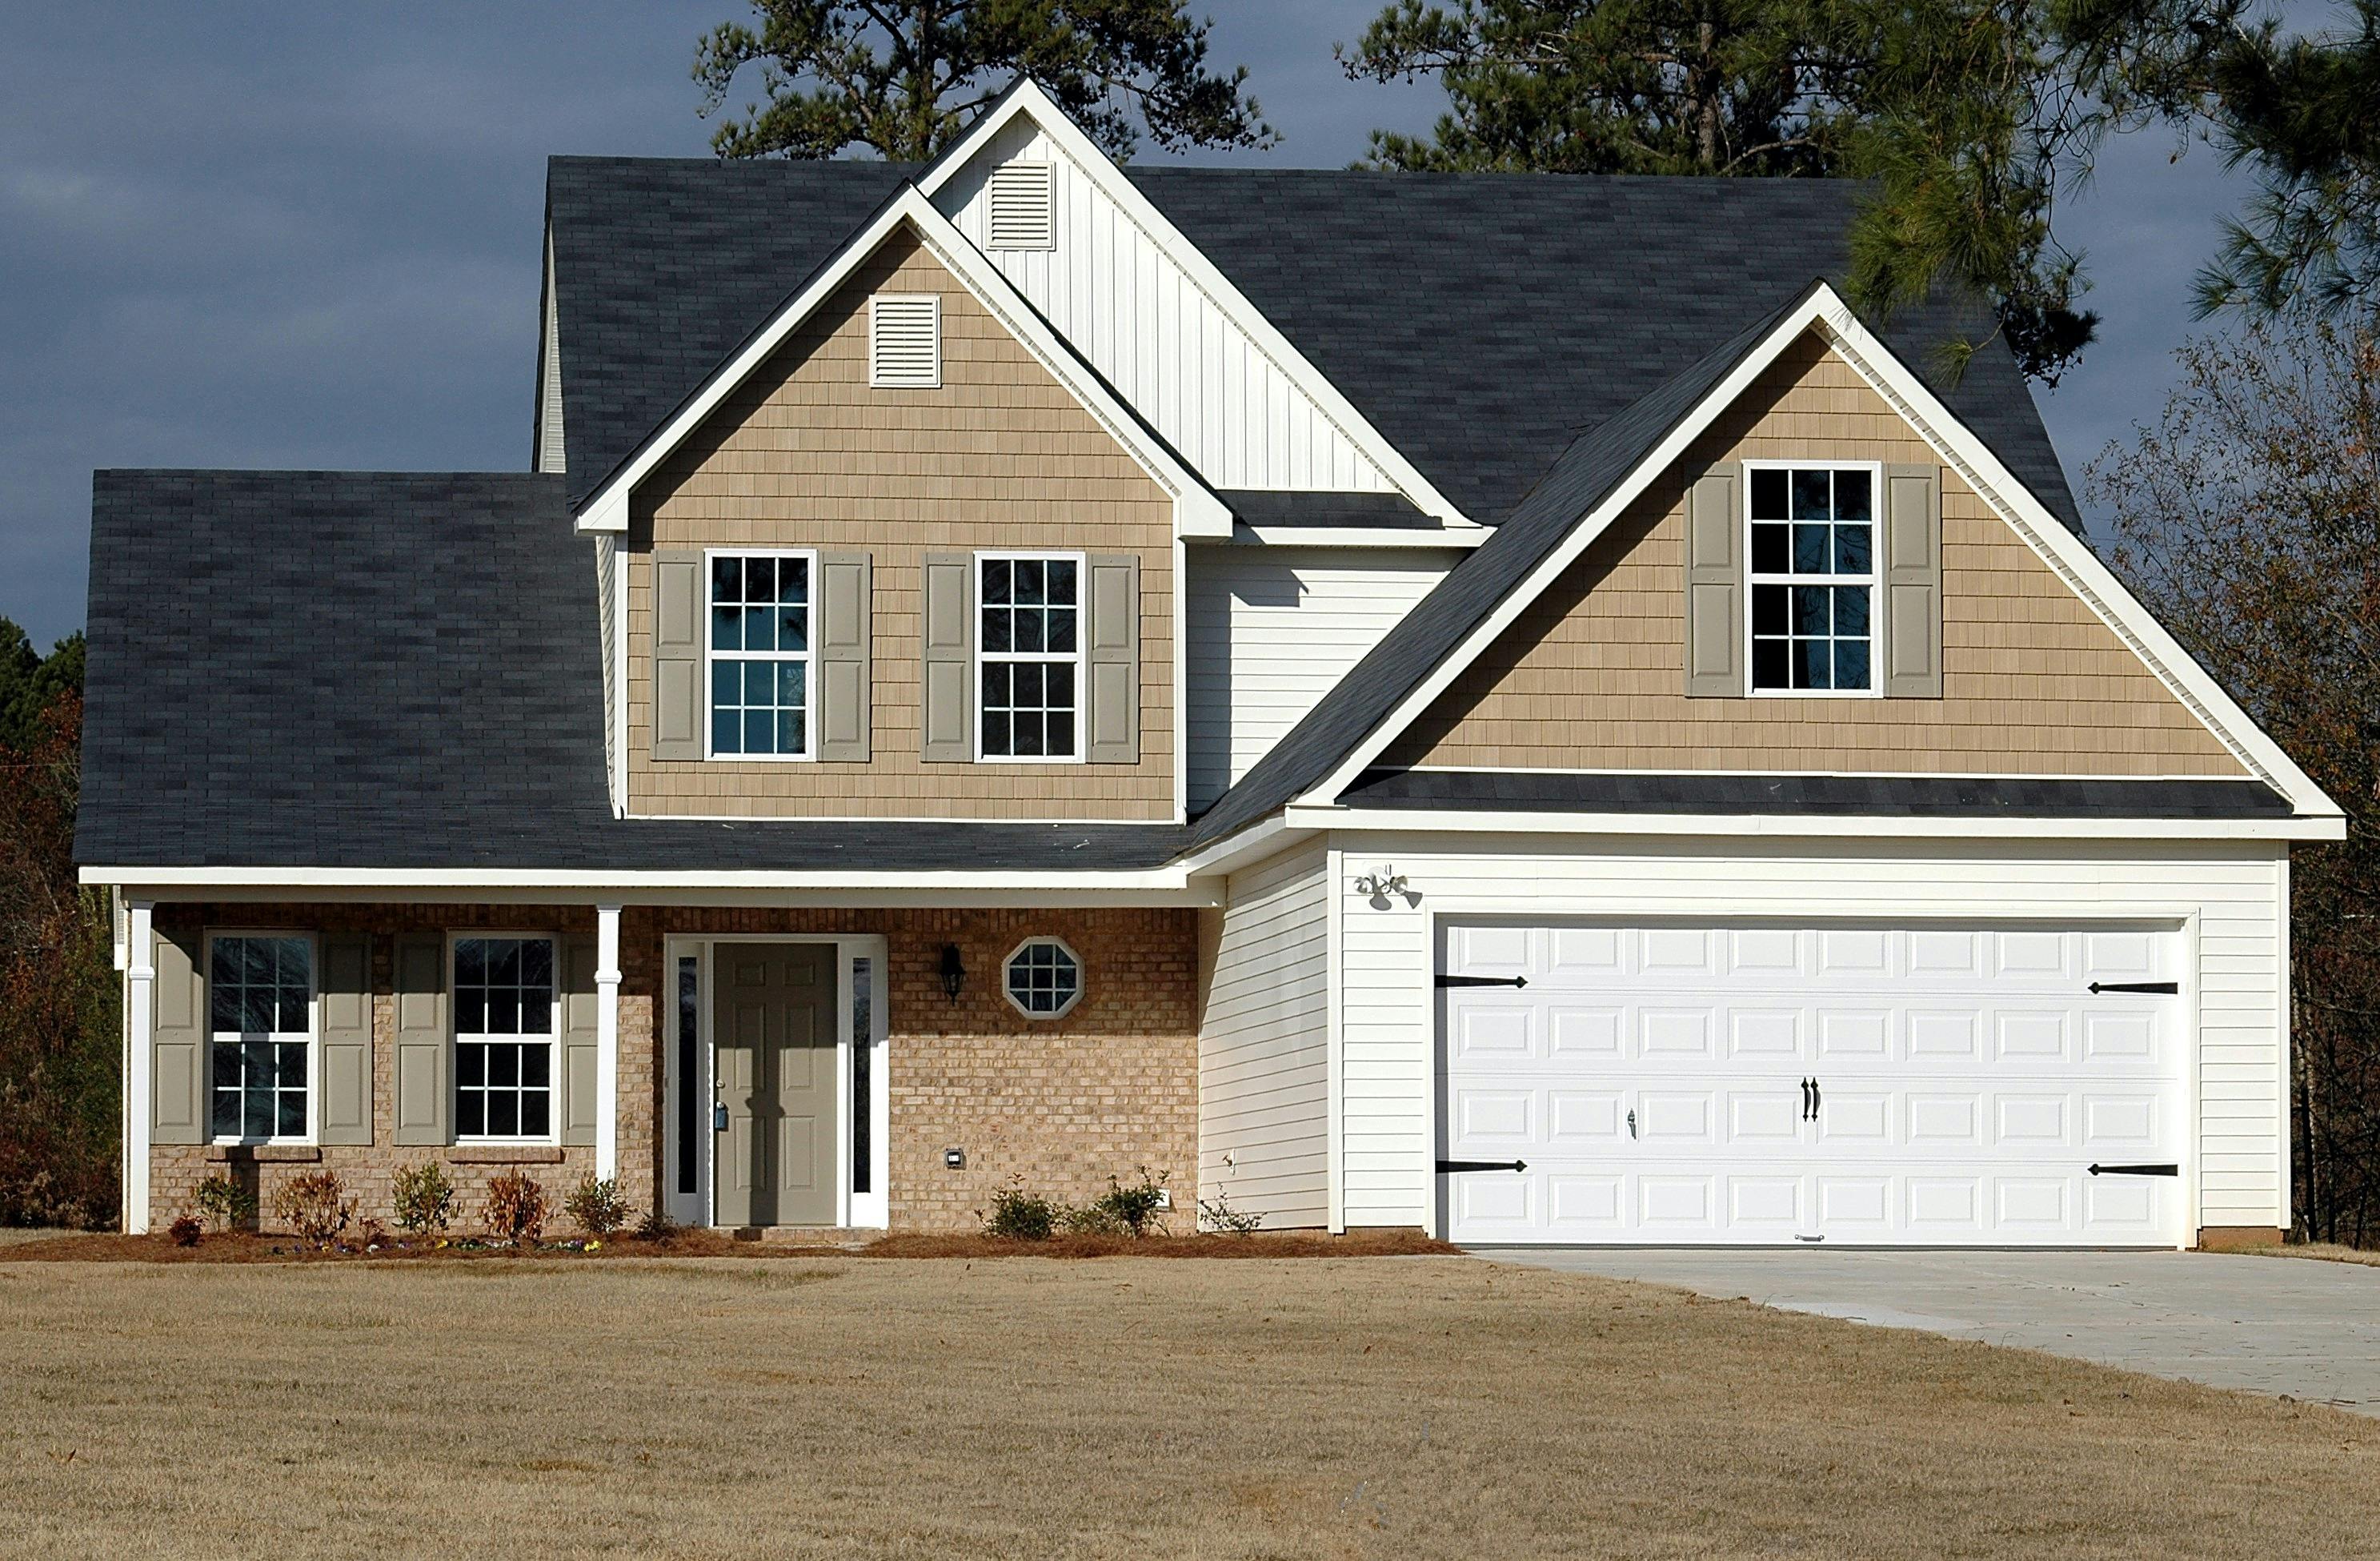
Vinyl siding is one of the most popular choices for homeowners due to its affordability, low maintenance requirements, and wide range of colors and styles. However, like any exterior material, vinyl siding can sustain damage from impacts, weather exposure, or improper installation. The good news is that many vinyl siding repairs can be handled as DIY projects with the right tools and techniques. Understanding how vinyl behaves and what types of damage are common will help you approach repairs with confidence.
Before starting any repair work, it’s important to assess the damage carefully. Vinyl siding is flexible and designed to expand and contract with temperature changes, so repairs must accommodate this movement. Most minor damage like small holes or cracks can be fixed without replacing entire panels, while larger damage may require panel replacement. Always work safely by using proper ladders and protective equipment, and consider calling a professional for repairs above ground level or when you’re unsure about the extent of damage.
Understanding Common Vinyl Siding Damage
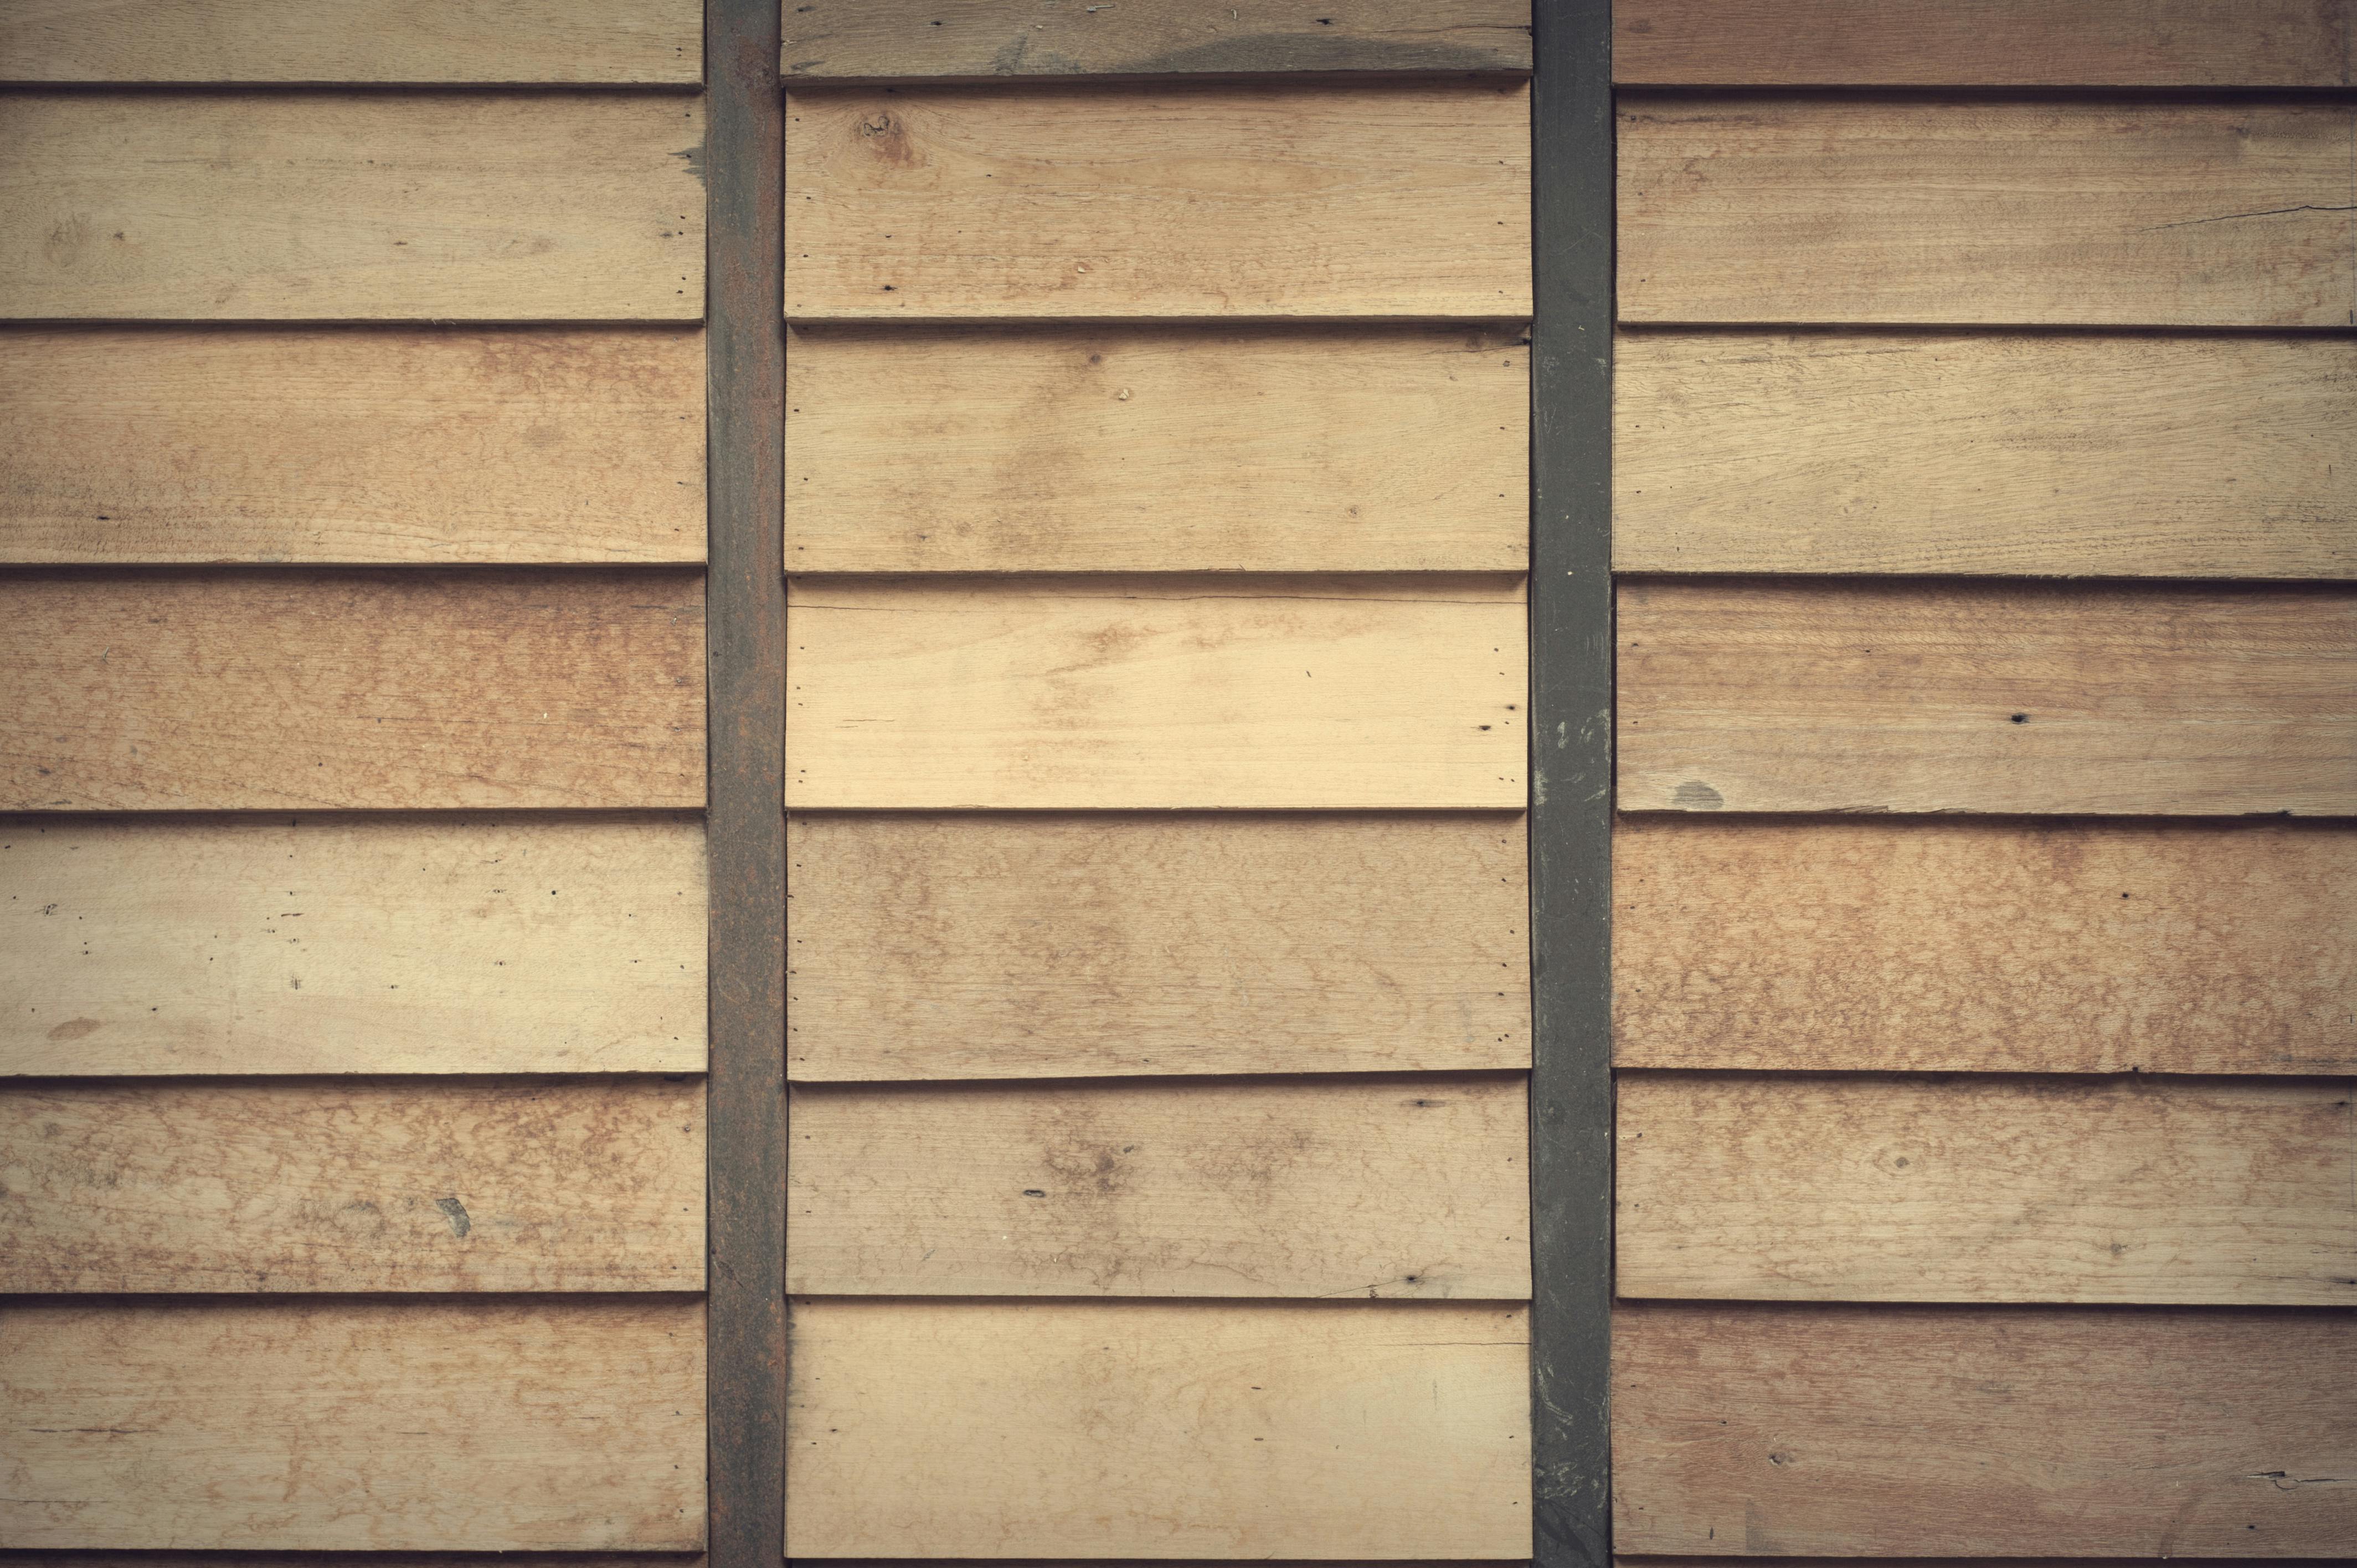
The first step in any repair is identifying what type of damage you’re dealing with. Vinyl siding can suffer from several common issues. Small punctures often occur from nails, screws, or minor impacts. These are usually easy to repair with filler compounds. Cracks might appear due to freezing temperatures or impacts, and while small cracks can be filled, larger ones may require panel section replacement. Loose panels are another frequent problem, often caused by popped nails or improper installation. Torn or split sections typically result from severe impacts or attempts to remove frozen panels. Finally, discoloration or fading affects the appearance but doesn’t compromise structural integrity.
When assessing damage, gently press on the affected area to check for flexibility. Vinyl should give slightly but not feel mushy or brittle. If the damage extends through multiple panels or affects the underlying structure, it’s time to call a professional. Remember that vinyl siding is designed to be replaced in sections rather than repaired extensively, so don’t try to save severely damaged panels.
Essential Tools and Materials for Vinyl Repairs
Having the right tools makes vinyl siding repairs much easier and ensures professional-looking results. You’ll need a utility knife or specialized siding removal tool for cutting and trimming. A caulking gun with exterior-grade caulk is essential for sealing repairs. Measuring tape helps ensure accurate cuts, while a level ensures panels remain straight. For fastening, use stainless steel nails or screws to prevent rust stains. Vinyl repair kits containing filler compounds and patches are available at most home improvement stores.
Safety should be your top priority. Wear safety glasses to protect your eyes from debris, heavy-duty gloves to prevent cuts, and sturdy shoes with good traction. If working on a ladder, have someone spot you and use a ladder stabilizer if possible. Work in moderate weather conditions, avoiding extreme heat or cold that can affect vinyl’s flexibility.
Step-by-Step Guide to Small Hole Repairs
Small holes in vinyl siding are one of the most common repairs homeowners face. These typically occur when fasteners are removed or from minor impacts. Start by cleaning the damaged area thoroughly with mild soap and water, then dry it completely. For holes smaller than 1/4 inch, you can use a vinyl repair kit. Apply the filler compound according to the manufacturer’s instructions, usually by filling the hole and allowing it to cure. Once cured, sand the repair smooth and paint to match the surrounding siding.
If the hole is slightly larger, you might need to use a vinyl patch. Cut a small piece of matching vinyl, apply adhesive to both surfaces, and press firmly into place. Smooth out any air bubbles and allow the adhesive to set completely. For the best results, practice on a scrap piece first to ensure your technique works well. After repair, monitor the area for a few days to ensure the patch holds and the repair blends seamlessly.
Fixing Cracks and Splits
Cracks in vinyl siding can occur from impacts, freezing temperatures, or natural expansion and contraction. Small hairline cracks can often be repaired with caulk, while larger cracks may require more extensive work. Begin by cleaning the crack thoroughly to remove dirt and debris. Apply a bead of exterior-grade caulk into the crack, then smooth it with a putty knife or your finger for a clean finish. Allow the caulk to cure according to the product instructions, which is usually 24 hours.
For wider cracks, you may need to reinforce the repair. After cleaning, apply a vinyl repair compound into the crack, then embed fiberglass mesh for added strength. Smooth the compound and allow it to cure. Sand lightly if needed, then paint to match. If the crack is very large or extends through the panel, consider replacing the entire section. Cut out the damaged area carefully, measure for a replacement piece, and install it using the same fastening method as the original.
Reattaching Loose Panels
Loose vinyl siding panels are a common issue that can lead to water infiltration if not addressed. This often happens when nails pop due to expansion and contraction. Start by gently prying the loose panel away from the adjacent panels using a siding removal tool or putty knife. Be careful not to damage the panels or underlying structure. Once you can access the back, check the existing fasteners. If they’re corroded or damaged, remove them completely.
Reattach the panel using new stainless steel nails or screws, spacing them properly according to manufacturer guidelines. Drive fasteners straight and avoid over-tightening, which can cause new problems. Test the panel by gently pushing on it to ensure it flexes properly. If the panel was severely loose, you may need to add additional fasteners for security. Finally, apply a bead of caulk along the top edge where the panel meets the one above it to prevent water entry.
Replacing Damaged Panel Sections
When damage is too extensive for patching, you’ll need to replace the affected section. This requires careful measurement and cutting. Start by marking the damaged area clearly, then use a utility knife or fine-toothed saw to cut out the section. Work slowly to avoid damaging adjacent panels. When cutting, score the vinyl deeply first, then bend it back and forth until it breaks cleanly.
Measure the replacement piece carefully, accounting for the overlap with adjacent panels. Cut the new piece slightly oversized, then trim it to fit perfectly. Install the replacement using the same fastening method as the original installation. Apply caulk to all seams and edges to ensure a watertight seal. For corner or edge replacements, pay special attention to maintaining the proper profile and alignment.
Color Matching and Finishing
Achieving a seamless repair requires proper color matching and finishing techniques. Vinyl siding comes in many colors, so finding an exact match is crucial. Take a sample of the existing siding to the store when purchasing repair materials. If an exact match isn’t available, choose the closest color and plan to paint the entire panel later for uniformity.
When applying touch-up paint, work in thin coats and allow each to dry completely. Use exterior-grade paint designed for vinyl siding. Apply the paint with a brush or roller, feathering the edges to blend with the surrounding material. If the repair is on a highly visible area, consider having a professional painter match and apply the finish for the best results.
When to Call a Professional
While many vinyl siding repairs are DIY-friendly, some situations require professional expertise. If the damage is above 10 feet or requires ladder work you’re uncomfortable with, call a professional. Complex repairs involving multiple panels or structural issues should also be handled by experts. If you’re unsure about the extent of damage or lack the necessary tools, it’s better to consult a siding contractor.
Professional repairs ensure warranty compliance and proper installation. They also provide peace of mind that the job is done correctly. When hiring a professional, get multiple quotes and check references. A good contractor will assess the damage thoroughly and explain their repair approach before beginning work.
Preventing Future Damage
Regular maintenance can prevent many common vinyl siding problems. Clean your siding annually with a mild detergent solution, avoiding harsh chemicals that can damage the surface. Trim trees and shrubs away from the siding to prevent scratches and impacts. Inspect your siding regularly for loose panels or early signs of damage. Address issues promptly before they worsen.
During winter, avoid removing snow or ice with sharp tools that can puncture the vinyl. In summer, ensure proper ventilation behind the siding to prevent heat buildup. By maintaining your vinyl siding properly, you can extend its life and reduce repair needs.
Cost Considerations
Vinyl siding repairs are generally affordable. Small hole repairs might cost $20-50 in materials, while panel replacements can run $100-300 depending on the size and accessibility. Professional repairs add labor costs of $50-100 per hour. The key is addressing damage early before it becomes more extensive and expensive to fix.
Remember that proper repairs not only restore your home’s appearance but also protect it from water damage and energy loss. With patience and the right techniques, you can maintain your vinyl siding for many years, keeping your home looking its best while protecting your investment.