TL;DR
- Use carbide-tipped tools for cutting
- Replace damaged sections completely
- Seal all repairs properly
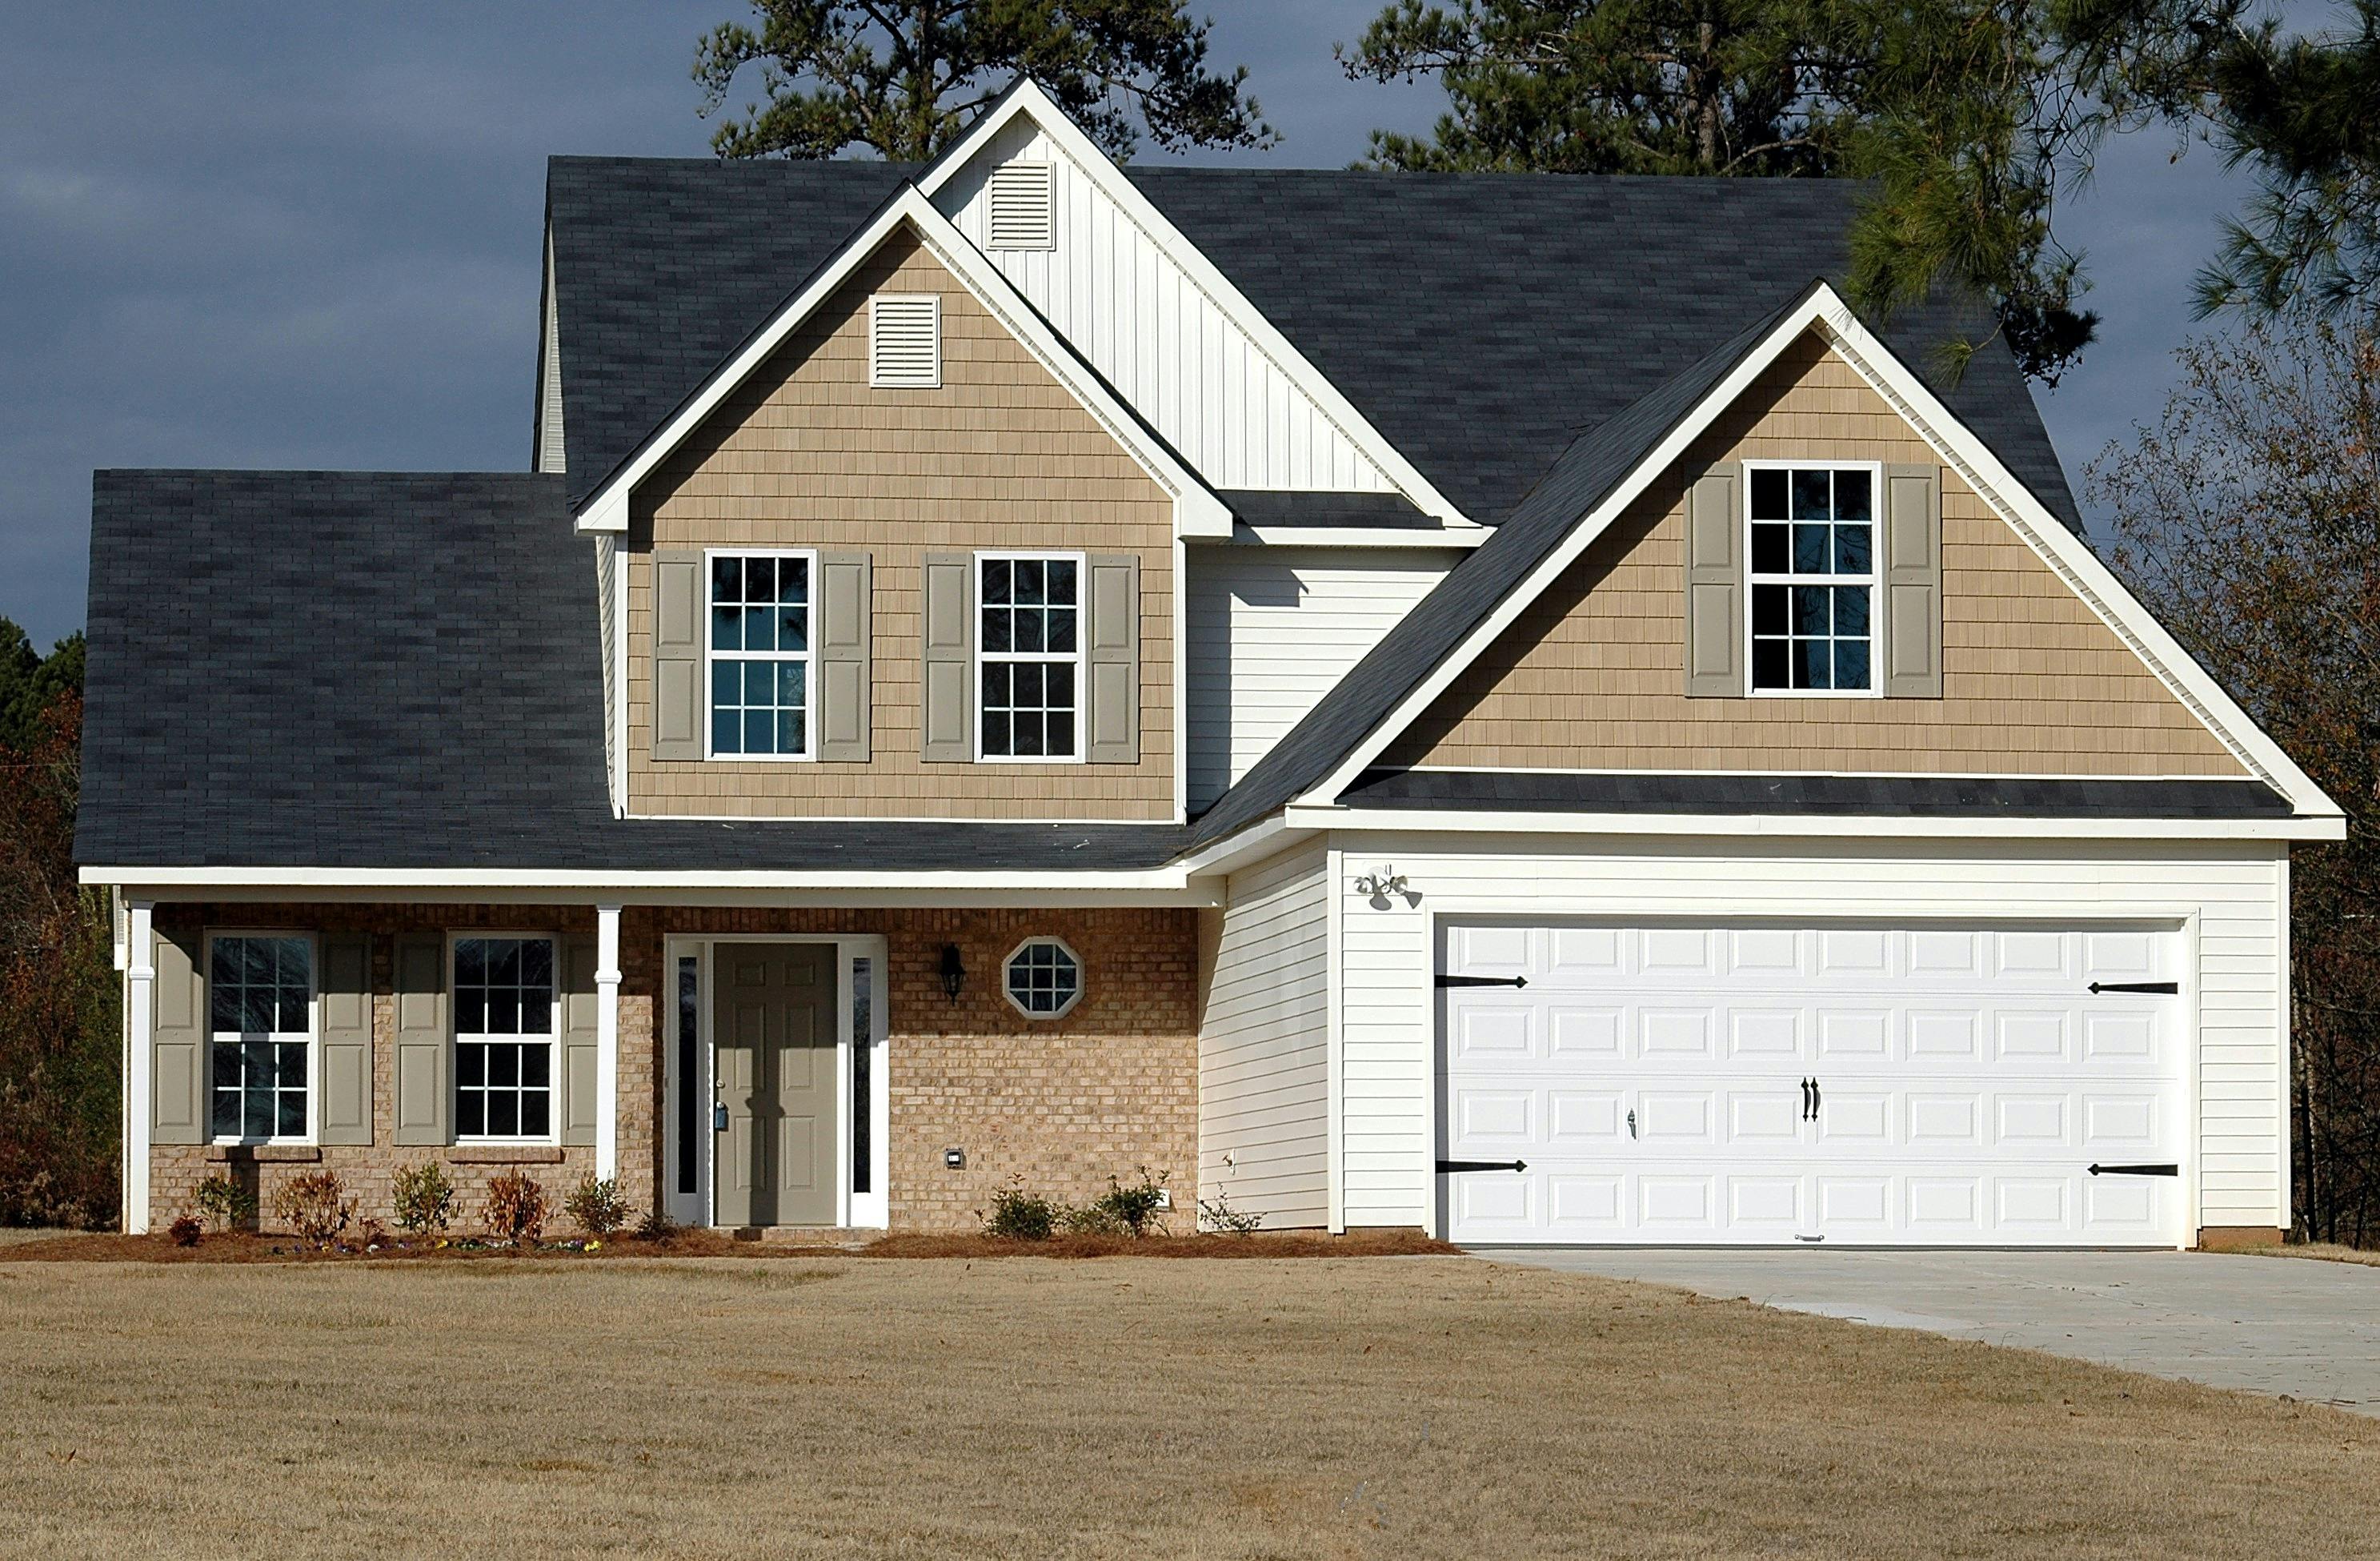
James Hardie fiber cement siding (Hardie board) is known for its durability and resistance to rot, insects, and fire. However, it can sustain damage from impacts, improper installation, or extreme weather. Repairing Hardie board requires specific techniques due to its composition and weight. Most repairs involve replacing damaged sections rather than patching, as the material is engineered for strength and weather resistance.
This guide covers Hardie board repair methods, safety considerations, and when professional help is needed.
Understanding Hardie Board Damage
Fiber cement siding damage differs from wood or vinyl and requires appropriate repair approaches.
Common Damage Types
- Impact cracks from hail or debris
- Corner damage from impacts
- Edge chipping during handling
- Warping from moisture exposure
- Nail hole staining and corrosion
- Surface scratches and abrasions
Material Characteristics
- Heavy and rigid compared to vinyl
- Requires carbide-tipped tools for cutting
- Must be handled carefully to avoid breakage
- All repairs need proper sealing
Assessment Guidelines
- Measure damage extent accurately
- Check for underlying structural issues
- Look for signs of water penetration
- Determine replacement vs. minor repair
Safety and Preparation
Hardie board repairs require proper safety measures due to the material’s weight and cutting requirements.
Personal Protective Equipment
- Safety glasses to protect from debris
- Heavy-duty work gloves
- Dust mask for cutting operations
- Sturdy shoes with good traction
Tool Requirements
- Carbide-tipped saw for cutting
- Hammer and finish nails
- Caulking gun and exterior caulk
- Measuring tape and straight edge
- Panel lifters and support equipment
Working Conditions
- Work in moderate weather
- Have assistance for heavy panels
- Use proper ladder setup
- Protect surrounding areas from debris
Small Damage Repairs
Minor issues can sometimes be addressed without full panel replacement.
Nail Hole Fixes
- Clean corrosion from nail holes
- Apply exterior filler compound
- Sand smooth when cured
- Touch up with matching paint
Surface Scratch Repair
- Clean damaged area thoroughly
- Apply fiber cement repair compound
- Feather edges for smooth finish
- Paint to match existing color
Edge Chip Restoration
- For small chips: Use repair filler
- For larger chips: Consider replacement
- Sand and finish smoothly
- Seal all repairs
Crack and Split Repairs
Cracks in fiber cement usually require section replacement for proper integrity.
Hairline Crack Assessment
- Measure crack width and length
- Check for active movement
- Look for underlying causes
- Determine if stable or expanding
Small Crack Repair
- Clean crack thoroughly
- Apply fiber cement repair caulk
- Reinforce with fiberglass mesh if needed
- Sand and finish smooth
Large Crack Replacement
- Mark replacement area
- Cut out damaged section carefully
- Install new piece with proper fastening
- Seal all edges and joints
Panel Replacement Process
Most Hardie board damage requires complete section or panel replacement.
Removal Steps
- Support panel to prevent falling
- Remove fasteners from damaged area
- Cut out damaged section with carbide saw
- Protect adjacent panels during removal
Cutting Techniques
- Use carbide-tipped blade
- Score deeply before cutting
- Support panel on both sides
- Cut slowly to avoid chipping
Installation Process
- Measure and cut replacement piece
- Apply panel adhesive if required
- Fasten with corrosion-resistant nails
- Ensure proper overlap and alignment
Corner and Edge Damage
Corners and edges are vulnerable and require careful repair techniques.
Corner Replacement
- Remove damaged corner section
- Cut new corner piece to match profile
- Install with proper fastening
- Seal all joints thoroughly
Edge Repair Methods
- Trim damaged edges straight
- Install edge trim or caps
- Fasten securely
- Caulk all seams
Trim Integration
- Match existing trim profiles
- Install with appropriate fasteners
- Ensure proper drainage
- Seal all penetrations
Warping and Buckling Fixes
Warping indicates moisture issues that must be addressed along with the repair.
Cause Identification
- Water damage behind panels
- Improper installation spacing
- Foundation settling
- Poor drainage
Repair Approach
- Address underlying moisture issues
- Replace warped sections
- Improve ventilation and drainage
- Monitor for reoccurrence
Prevention Measures
- Ensure proper flashing installation
- Maintain drainage systems
- Regular inspection for moisture
- Proper ventilation behind siding
Fastener and Hardware Issues
Corroded or damaged fasteners can cause staining and structural problems.
Fastener Assessment
- Check for rust and corrosion
- Look for popped or loose fasteners
- Verify proper spacing and type
- Replace corroded fasteners
Replacement Process
- Remove old fasteners carefully
- Clean fastener holes
- Install new stainless steel fasteners
- Seal around new fasteners
Hardware Maintenance
- Use corrosion-resistant materials
- Install with proper technique
- Regular inspection for issues
- Replace as needed
Surface Finishing and Painting
Proper finishing ensures weather resistance and appearance.
Surface Preparation
- Clean repair area thoroughly
- Sand smooth for paint adhesion
- Remove dust and debris
- Prime if required
Painting Process
- Use primer appropriate for fiber cement
- Apply exterior-grade paint
- Match existing color exactly
- Allow proper drying time
Maintenance Coating
- Apply protective sealants
- Maintain paint regularly
- Touch up as needed
- Protect from UV damage
Moisture and Water Issues
Fiber cement is susceptible to moisture-related damage that must be addressed.
Water Intrusion Signs
- Stains on interior walls
- Mold or mildew growth
- Warped or buckled panels
- Soft or deteriorated areas
Repair Solutions
- Fix source of water entry
- Replace damaged sections
- Improve drainage systems
- Install proper flashing
Prevention Strategies
- Maintain gutters and downspouts
- Ensure proper roof flashing
- Regular inspection for leaks
- Address drainage issues promptly
Professional Repair Considerations
Some Hardie board repairs require professional expertise.
Complex Repairs
- High-elevation work
- Large panel replacements
- Structural damage involved
- Warranty-covered repairs
Manufacturer Guidelines
- Follow James Hardie specifications
- Use approved repair methods
- Maintain warranty coverage
- Document all repairs
Quality Assurance
- Proper installation techniques
- Correct fastener usage
- Appropriate sealing methods
- Professional finishing
Cost Factors
Hardie board repairs can be more expensive due to material and labor costs.
Material Costs
- Fiber cement panels: $4-$8 per square foot
- Specialty trim and accessories: $5-$10 per linear foot
- Repair compounds and sealants: $20-$50
- Tools and equipment: $100-$300
Labor Considerations
- Professional repair rates: $75-$150 per hour
- Section replacement: $200-$600
- Full panel replacement: $300-$800
- Complex repairs: $500-$2,000+
Cost-Saving Tips
- DIY small repairs when possible
- Purchase materials directly
- Schedule during off-season
- Bundle multiple repairs
Warranty and Support
James Hardie provides specific warranty and support for repairs.
Warranty Coverage
- Limited warranty on materials
- Installation workmanship coverage
- Color and finish warranties
- Repair kit availability
Manufacturer Resources
- Technical support hotline
- Repair guides and instructions
- Certified installer network
- Online training resources
Documentation Requirements
- Keep repair records
- Document warranty claims
- Maintain installation information
- Track maintenance history
Seasonal Repair Timing
Weather conditions affect Hardie board repair work.
Optimal Repair Times
- Spring and fall for moderate temperatures
- Avoid freezing conditions
- Schedule when rain is not expected
- Consider humidity levels
Weather Considerations
- Material expansion and contraction
- Adhesive and caulk curing
- Paint drying conditions
- Worker safety in various conditions
Material Behavior
- Allow for thermal movement
- Work with material properties
- Protect from moisture during curing
- Monitor temperature effects
Maintenance to Prevent Damage
Regular care reduces repair needs and extends Hardie board life.
Preventive Measures
- Annual inspection and cleaning
- Maintain drainage systems
- Trim vegetation away from walls
- Address issues promptly
Cleaning Guidelines
- Use low-pressure washing
- Mild detergent solutions
- Avoid harsh chemicals
- Rinse thoroughly
Inspection Schedule
- Check for damage quarterly
- Monitor for moisture issues
- Inspect fasteners annually
- Professional inspection recommended
Conclusion
Repairing Hardie board siding requires understanding the material’s unique properties and using appropriate techniques. Most damage is best addressed through section replacement rather than patching, ensuring long-term durability and weather resistance.
By following proper repair procedures, using the right tools, and maintaining your siding regularly, you can keep your Hardie board looking great and functioning properly. Always prioritize safety, work methodically, and consult professionals for complex repairs or when warranty coverage is a concern.
Proper maintenance and timely repairs will help your fiber cement siding provide decades of protection and enhance your home’s value and appearance.